
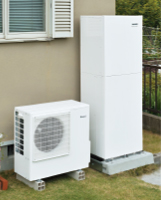
工事の流れ
新築・本格リフォームの場合
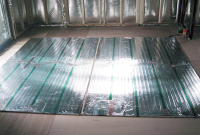
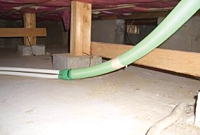
 床下に温水を通す
チューブを配管します。

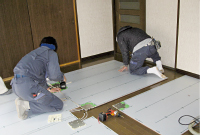
 温水マットを敷き、
床に固定します。
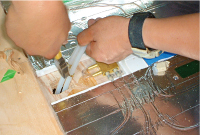
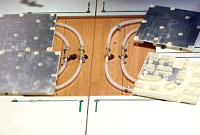
 温水チューブと
温水マットを接続します。
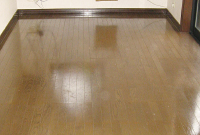
 床の仕上げをします。

 設置完了です!

簡易リフォーム(後付け)の場合
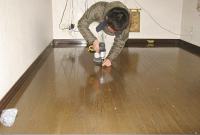
 既設の床の補強をします。
 床下に温水を通す
チューブを配管します。
 温水パネルを敷き、
高さを調整します。
 温水チューブと
温水マットを接続します。
 フローリングを
敷き詰めます。
 設置完了です!
- お客様サポート


- インターネット限定販売商品